
Learn how to tie a bow tie with this simple step-by-step guide. Master the self-tie bow tie for weddings, black tie events, and formal occasions.
How to Tie a Bow Tie (Step-by-Step Guide)
A self-tie bow tie is tied by crossing one end over the other, forming a simple knot, folding one side into the front bow shape, looping the other end over and through the centre, then tightening and adjusting until balanced. It may look complicated, but once you understand the structure, it’s surprisingly logical.
Unlike a pre-tied version, a self-tie bow tie has natural shape and character. The slight asymmetry is intentional, signalling confidence in the wearer and craftsmanship in the bow tie itself. Learning how to tie your own bow tie is less about perfection and more about control.
What You’ll Learn in This How to tie a Bow Tie Guide
In this step-by-step tutorial, you’ll learn:
- How to adjust your bow tie to the correct size
- How to form a clean, balanced bow shape
- How tight a bow tie should sit around your neck
- How to adjust and shape it for a polished finish
- Why a slightly imperfect bow tie looks better than a rigid one
With a little practice, tying a bow tie becomes instinctive. Although tying a bow tie may seem intimidating at first, it’s really not so different from tying your shoelaces; just slightly more fiddly and far more visible if you get it wrong. The good news? With a little practice, it will become second nature.
Follow these steps, and before long you’ll be confidently tying your own (and possibly everyone else’s) bow tie. It may even become your signature party trick.
Step 1: Adjust the Bow Tie to the Correct Size
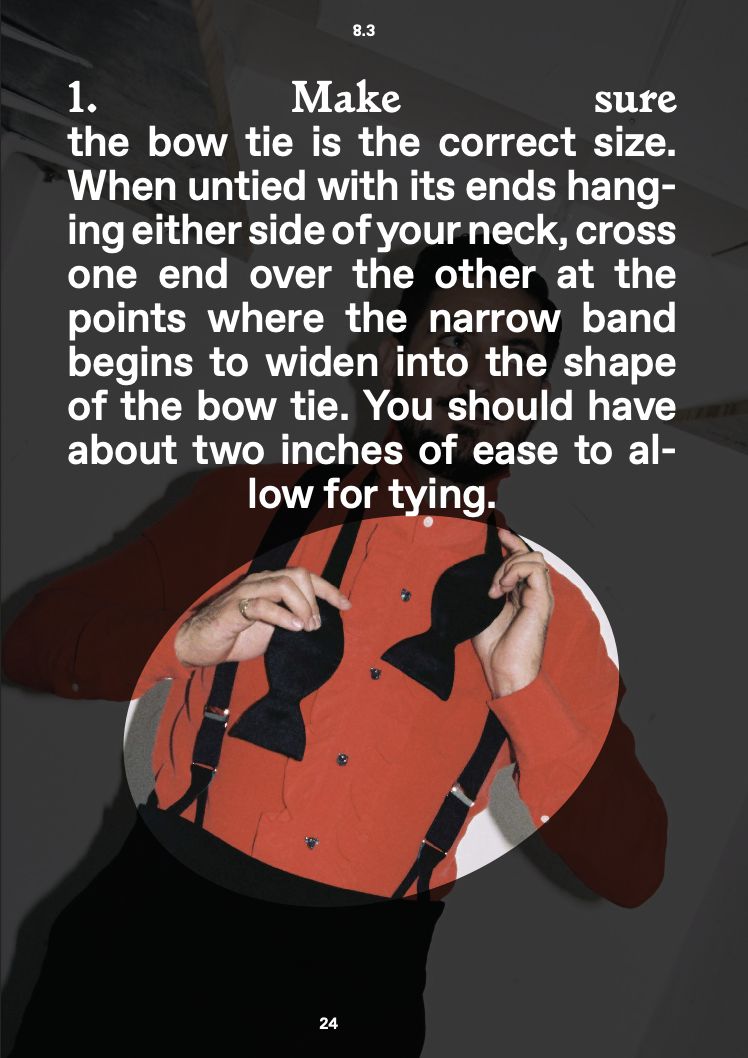
Before tying, adjust the strap so it fits your neck properly. When untied and draped around your collar, cross one end over the other where the narrow band begins to widen into the bow shape. You should have around two inches of overlap to give yourself enough room to tie it comfortably.
Step 2: Start Firm
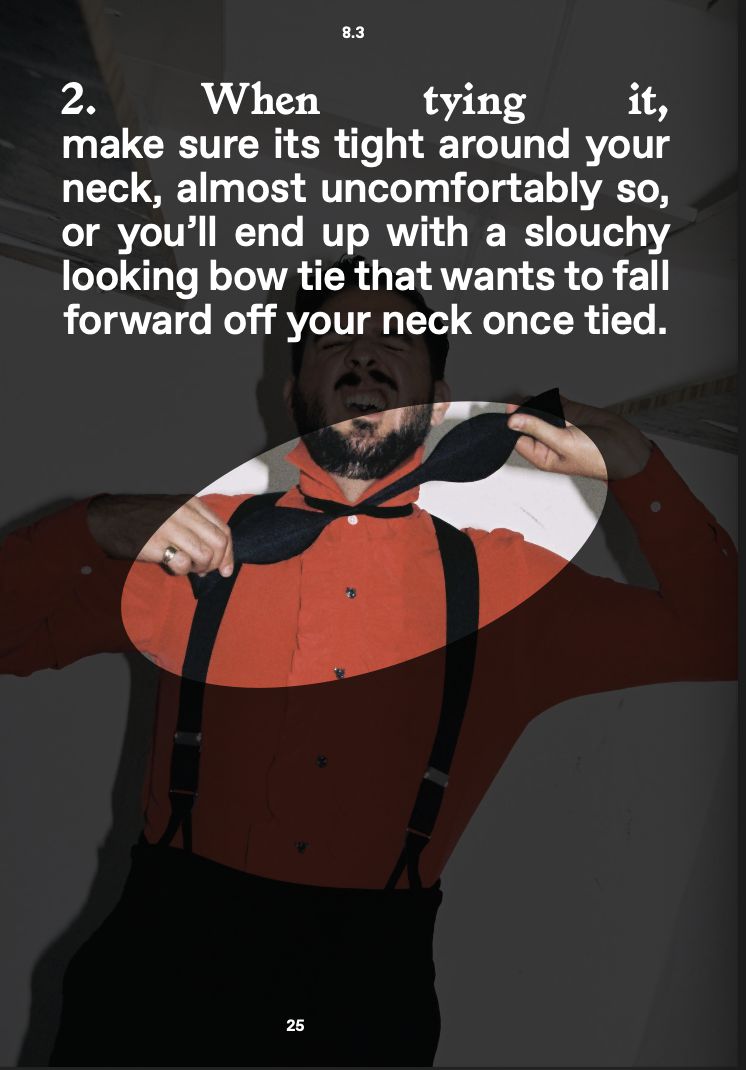
When you begin tying, pull the bow tie snug around your neck; slightly tighter than feels natural. If it’s too loose at this stage, it will sit forward and look untidy once finished.
Step 3: Form the Front of the Bow
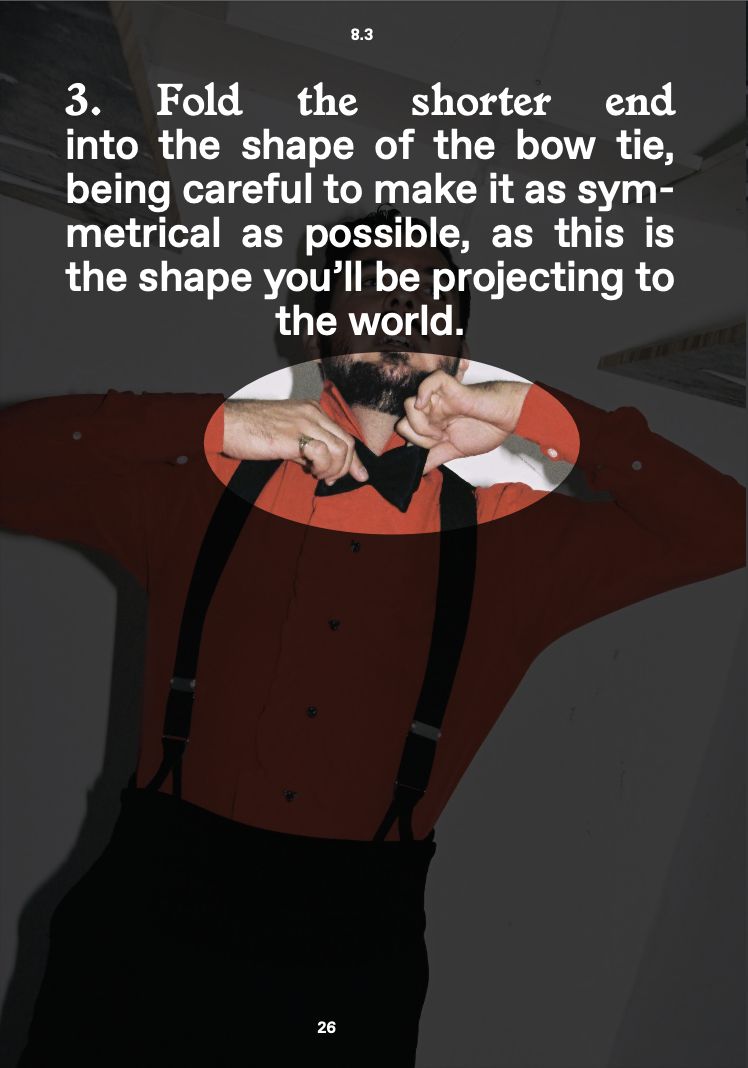
Fold the shorter end horizontally into the classic bow shape. Take care to keep it as symmetrical as possible – though remember, perfect symmetry isn’t the goal. A bow tie should have character.
Step 4: Drape and Create the Loop
Bring the longer end up and over the centre of the folded bow. Pinch the folded wings forward to create a small opening behind them.
Step 5: Push Through

Fold the longer end at its widest point and push the middle of that fold through the opening behind the front bow. Hold everything in place and gently pull the loop through.
Step 6: Straighten and Tighten
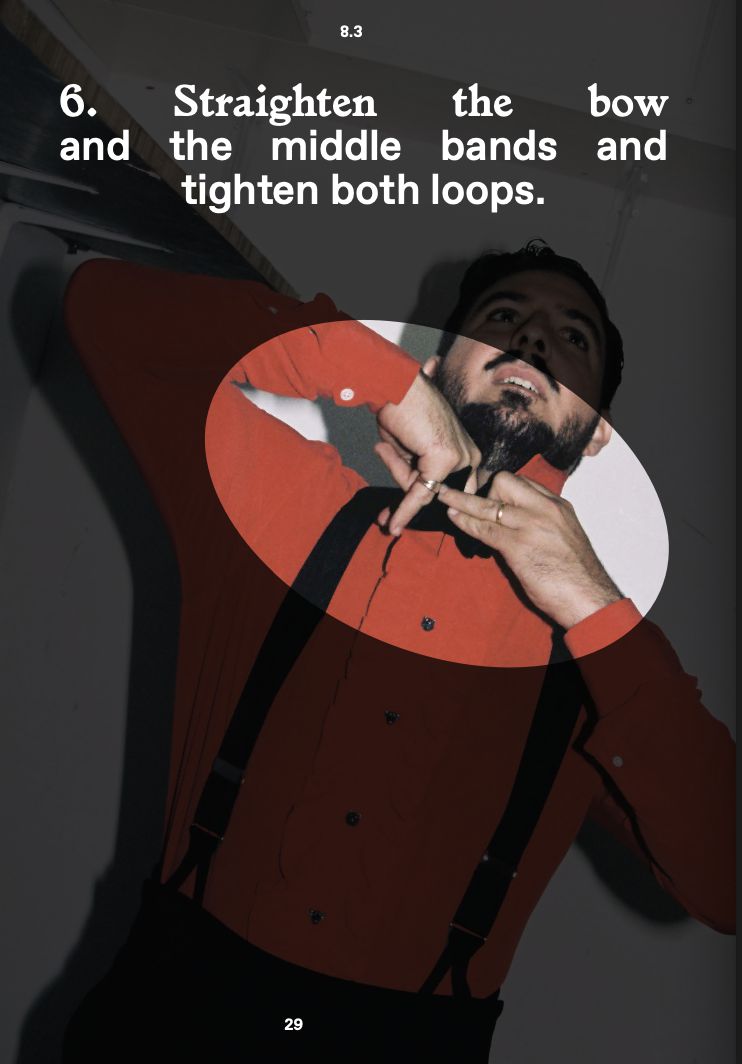
Pull both loops evenly to tighten the bow. Adjust the wings, centre knot and ends, until the shape feels balanced.
Step 7: Embrace Imperfection
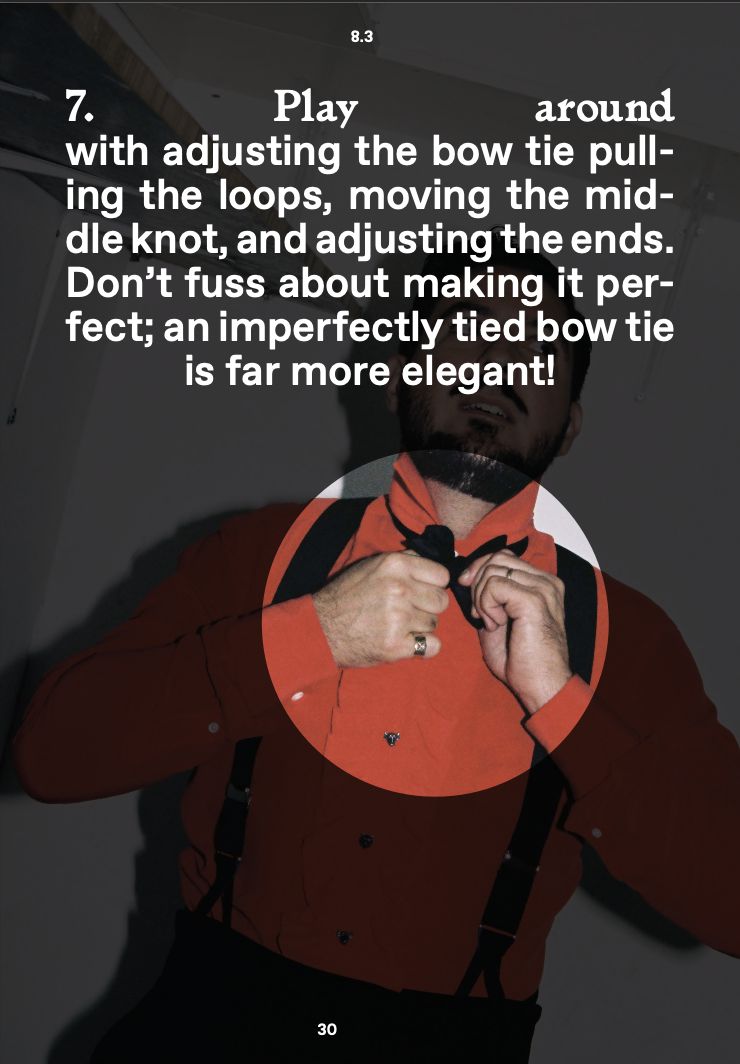
Play around with the shape by pulling the loops, moving the middle knot, and adjusting the ends. Resist the urge to over-fuss. Don’t fuss about making it perfect; a slightly imperfectly tied bow tie is widely thought to be far more elegant, and as such is a nod to those in the know. It signals confidence, not carelessness.
Step 8: Practice Makes Perfect
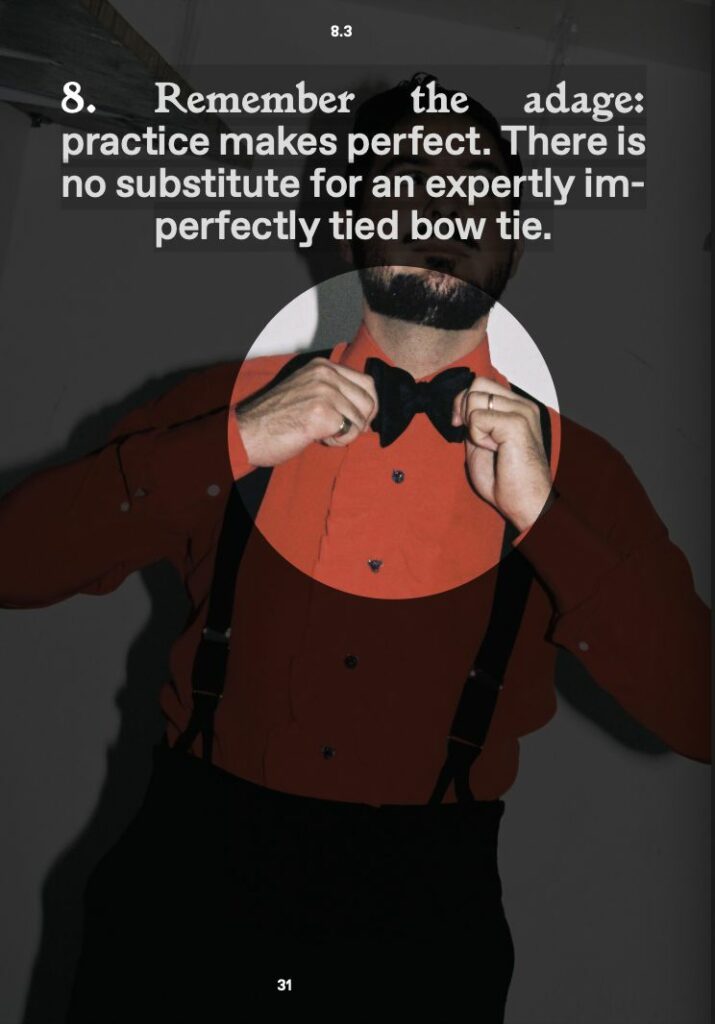
Remember the adage: practice makes perfect.
With practice, you’ll be expertly making imperfectly tied bow ties in no time. With time, you’ll be tying a self-tie bow tie instinctively, finishing every dinner jacket look exactly as it should be.
How To Tie A Bow Tie Video
Shop the la Bowtique bow tie range to find the perfect bow tie for your next black tie event